If you use Database projects in Visual Studio, then perhaps this one is for you. I recently stumbled upon a strange deployment error. But before we get to that, let me give you some background info to how database projects are deployed.

The dacpac file
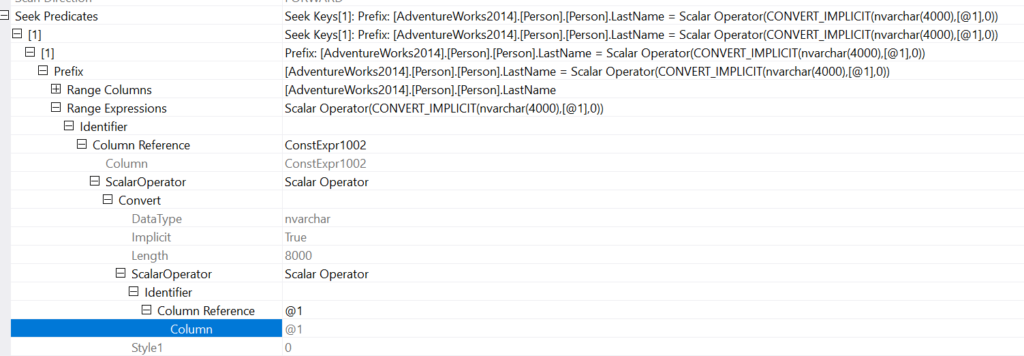
When a database project is compiled, a dacpac is created. A dacpac is a file, a zip file in fact, which contains a couple of xml files that describe the desired state of a database. It contains the data model, represented in an xml file and it contains a refactorlog file, which mostly contains name changes. The later is an important functionality, without it, it’s really hard to change eg column names without manual intervention. Imagine for example if we did NOT have the rafactor->rename functionality, when we change a column name, how would “the computer” know if we dropped a column and created a new one or if we renamed an existing column?
SqlPackage.exe
SqlPackage.exe is used to deploy (publish) a dacpac to a target database. It will compare the dacpac file with the target database, and figure out which DDL statements are required to make the target database look like the database model described in the dacpac. sqlpackage will first create a deployment plan and validate it. If that validation fails, nothing will be deployed. Instead we will get an error message.
Depending on which parameters you use to SqlPackage.exe, it will validate the deployment differently. Today’s article is all about the parameter DropObjectsNotInSource. It does exactly what it sounds like: If there are objects (procedures, tables, views etc) in the target database which are NOT in the dacpac model, the objects will be removed. In this regard, tables and materialized views are different to other object types. Unless the parameter BlockOnPossibleDataLoss has the value False, the deployment validation will fail the deployment if an object with data in it would get dropped by the deployment.
Some objects are dropped even when DropObjectsNotInSource is set to False. One example is indexes. An index on a table will get dropped from the target database if it’s removed from the dacpac model. The same goes for a column in a table. This is reasonable. Columns and indexes aren’t database objects, they are conceptually rather properties on a table.
The edge case
Imagine this scenario:
- You create a database project, build it and deploy it to a target, let’s call it DB1. This version of the database contains the table dbo.t1, with the column Value1. There’s an index on table dbo.t1, ix_t1_value1, a single column index with column Value1 as the key column.
- After you deployed your database project to DB1, you make two changes to your database projects. Using the Refactor->Rename functionality, you rename the column Value1 to Value2. You also remove the index ix_t1_value1.
- If you now build a dacpac and try to deploy it with SqlPackage, with the default value (False) for parameter DropObjectsNotInSource, the deployment will fail with this error message:
*** Verification of the deployment plan failed.
Error SQL72031: This deployment may encounter errors during execution because changes to [dbo].[t1].[Value2] are blocked by [dbo].[t1].[ix_t1_value1]'s dependency in the target database.
To me, this came as a total surprise. Because normally, indexes in the target database which are not in the dacpac model will be dropped from the database and therefore shouldn’t cause validation errors. But in this special case, when a column is renamed, and an index referencing the renamed column is removed, validations fails.
If I instead run SqlPackage with /p:DropObjectsNotInSource=True, the validation gives no errors and the deployment is successful. If you know there are objects in the target that you absolutely do not want to get dropped, you can specify to not drop those object types (for example Tables), using /p:DoNotDropObjectTypes=Tables in combination with /p:DropObjectsNotInSource. This comes in handy when you know there are tables created in the target during eg a data migration that you want to keep around for a while. But be careful that your target database doesn’t drift too much from the schema as described in your model.